Create a simple Photoblog with Ruby on Rails - Part 1
What it’s about
In the following sections we will create a Sample Application with Ruby on Rails. The goal is to get an overview over the Ruby Language and the Concepts of Rails and some of the common Gems. It tries to cover a broad field in a short time.
What it’s NOT about
This tutorials aim is NOT to give a deep dive and full understanding of the Rails Framework and the Ruby language. You should not expect to understand all the details. Each part references to other resources to get a better deepdive. Also I do not cover testing, although its a very important part in rails development and rails has very good support. I may will do an other part on testing later.
Other good resources to learn RoR
The following is probably one of the best Resources for getting started with Ruby on Rails. If you really want to learn rails, take a few days, and go through the tutorial, It’s free!
RUBY ON RAILS TUTORIAL by Micheal Hartl
https://www.railstutorial.org/book
There are also very good video tutorials by Ryan Bates. Although they are out of date, most of them are still worth watching:
Always a good source for information are the official guides of ruby on rails:
http://guides.rubyonrails.org/
Last but not least, a very good practice to learn the concepts of rails is to read other people’s code. There is an incredible amount of gems (ruby libraries), which are freely available on github.
Our Application
Our demo application will be a simple photoblog where users can do the following:
- Sign up with an email address and display name
- Upload photos and give it a name
- Browse all available photos
- Comment on a photo
C’mon, let’s code!
To start off, we have some prerequisites, first of all we should have ruby installed on our system (which is in this case a unix based system, believe me, developing Ruby on a Windows machine is no fun). Setup the development environment
There are three options to have ruby installed:
- Use the systems default ruby (this is actually not an option as you will need different version of ruby for different projects)
- Use RVM
- Use rbenv, together with ruby-build -> Recommended!
Follow the instructions to install rbenv and ruby, and set the global version for ruby.
Once we have setup your ruby environment, we need two more things to get started with our rails project, that’s bundler (which is the dependency manager for ruby) and rails.
To do so, just go to the console and type:
gem install bundler
gem install rails
gem is the package manager for ruby. These commands will install the libraries bundler and rails for the current ruby version we’ve selected
Creating the project
Now we are ready to get started with Rails! In the console, navigate to the directory you want to have your new project and typ:
rails new awesome-photoblog --skip-test-unit
This will create a new folder with a complete setup for your new application. With –skip-test-unit we skipped the default setup for tests, because we will use rspec later on as our testing framework. You will get a lot of output on the console, informing you what the script is doing.
When it has finished we can cd into our newly created project:
cd awesome-photoblog/
Before you continue, make sure you fix the ruby version for this directory. With rbenv you can do that with the comman:
rbenv local 2.2.3
And start up the rails server (which is, since rails 5, the puma webserver)
rails server
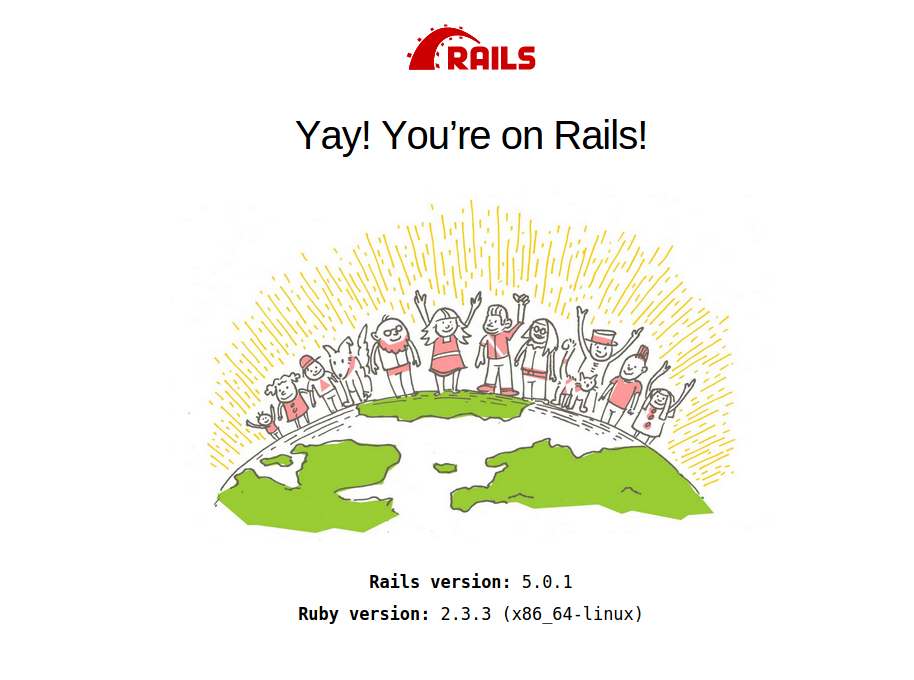
When we open the browser and type localhost:3000 we see a welcome page when everything is working:

Awesome right? We already have a working rails application. But now let’s add some basic stuff that will help us a lot while developing.
Which editor should I use?
Well, as always, you need some kind of editor. Basically a simple texteditor is enough, you could use sublime-text for example. If you prevere a fully featured IDE, Ruby Mine (IntelliJ for ruby) is probably your best choice.
Before we start coding
I highly recommend using a version control for every project you create. It allows you to always go back if you messed up. Additionally we need it as soon as we gonna deploy the application.
So lets initiate a new git repository and commit our current version:
git init
git add .
git commit -am "initiated new rails application"
Creating a welcome page
Let’s start with creating a welcome page. We can do this by creating a new Controller (which are responsible to handle the request and initiate view rendering). We call this one home_controller and it should have a index action that renders an index view. We can use the rails built in generators to automatically bootstrap the code for us:
rails g controller Home index
The command g is the short version for generate. controller is the generator we want to use, Home the name of our controller, followed by the actions it should have.
This command creates a new file app/controllers/home_controller.rb and automatically adds a route.
We can access this page via http://localhost:3000/home/index, but the root page still shows the default rails page. We can change that in the routes file:
config/routes.rb
Rails.application.routes.draw do
  # The route added by the generator
  get 'home/index'

  # For details on the DSL available within this file, see http://guides.rubyonrails.org/routing.html

  # set our root path to the index action on the home_controller
  root to: 'home#index'
end
Add some styling and content to our page
For this purpose we gonna add bootstrap. As often, there’s a gem for that!
Gemfile
gem 'bootstrap-sass'
then run bundle install on the command line to install the new dependency.
We will rename the application css file to a sass file and add the bootstrap import statement to it:
mv app/assets/application.css app/assets/application.scss
application.scss
@import "bootstrap-sprockets";
@import "bootstrap";
application.js
//= require jquery
//= require jquery_ujs
//= require turbolinks
//= require bootstrap
//= require_tree .
Now lets add a basic bootstrap layout to our app/views/layouts/layout.html.erb
<!DOCTYPE html>
<html>
<head>
  <title>AwesomePhotoblog</title>
  <%= csrf_meta_tags %>

  <%= stylesheet_link_tag    'application', media: 'all', 'data-turbolinks-track': 'reload' %>
  <%= javascript_include_tag 'application', 'data-turbolinks-track': 'reload' %>
</head>

<body>
<nav class="navbar navbar-default">
  <div class="container-fluid">
    <div class="navbar-header">
      <a class="navbar-brand" href="#">
        <img style="height: 25px" alt="Brand" src="http://www.pta.de/files/9814/0356/1755/logo_new_whiteBGcutCH.png">
      </a>
    </div>
  </div>
</nav>
<div class="container">
  <%= yield %>
</div>
</body>
</html>
And add a welcome message to our index/home view in app/views/home/index.html.erb
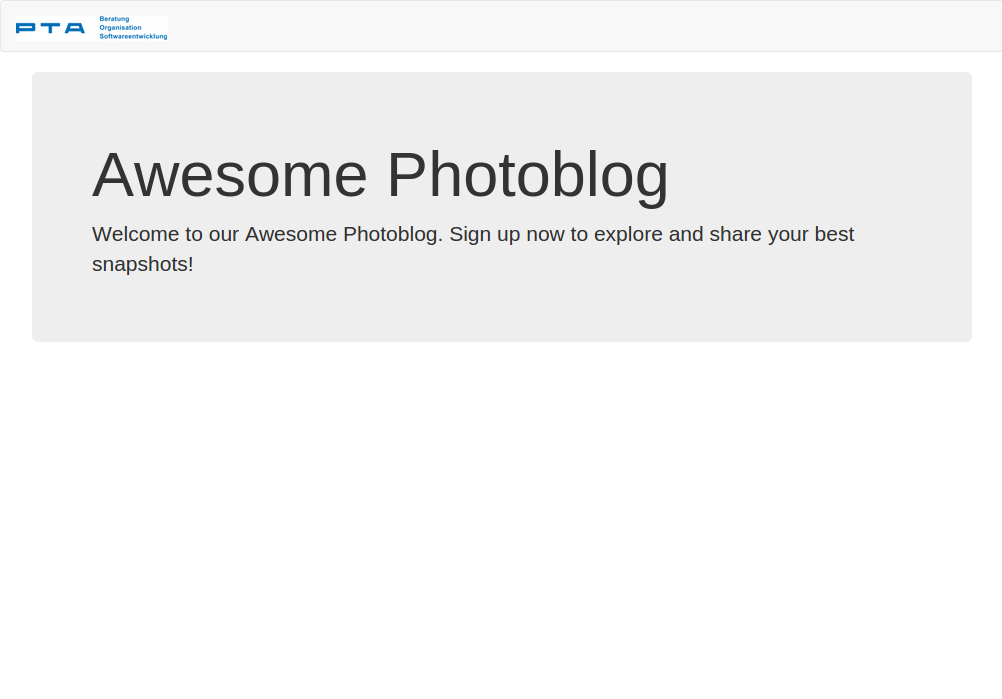
<div class="jumbotron">
  <h1>Awesome Photoblog</h1>
  <p>Welcome to our Awesome Photoblog. Sign up now to explore share your best snapshots!</p>
</div>
After restarting the server and reload the page it should now look like this:

Commit your changes with
git add .
git commit -m "Added bootstrap styling and welcome page"
Deploy the application
The easiest way to deploy an ruby on rails application is to use heroku.com. This is the time we are gonna need git for the first time. But before we make our commit, lets setup a couple of thing that are required for heroku. As heroku does not support sqlite, we have to add the postgres (which is herokus default database) gem to our application. Additionally we gonna add 12factor gem to make it easier to deploy on heroku.
Gemfile
gem 'pg', group: :production
gem 'rails_12factor', group: :production
Make sure everything is commited to git git commit -am "Added postgres and 12factor gem".
Now we gonna create a new heroku app and add it to our git.
heroku create
# somehow add the remote repository of the new heroku app
After pushing the source code to heroku, we have a up and running rails application in the cloud:
git push heroku
Thats it for this part. In the next part, we are going to add some authentication to our page.